How To Generate APNs Certificate in iOS
Step1: Create a Certificate Request from Keychain
Launch the Keychain Access application in your macOS.
Select Keychain Access -> Certificate Assistant -> Request a Certificate From a Certificate Authority…

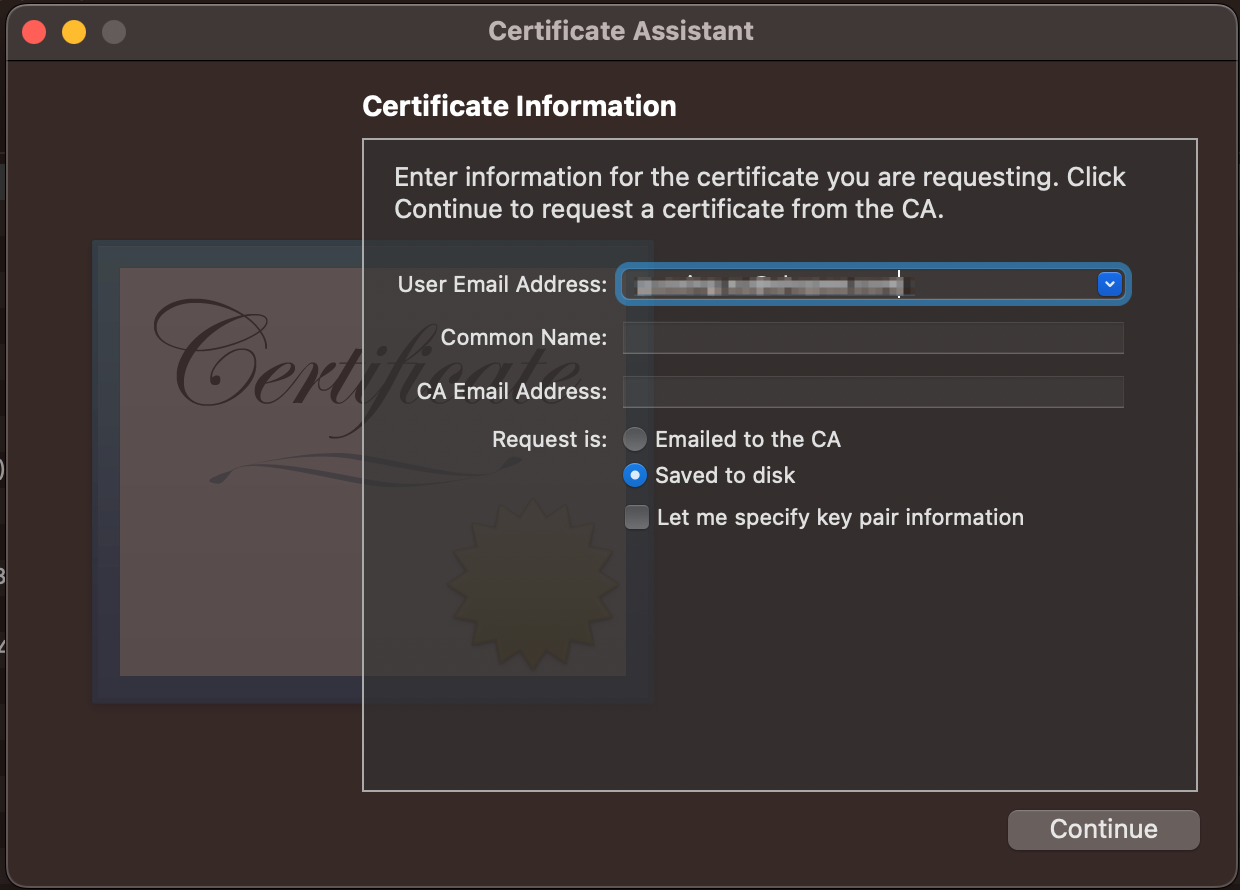
In the Certificate Assistant Page, enter User Email Address (required) and check Saved to disk, then click Continue.
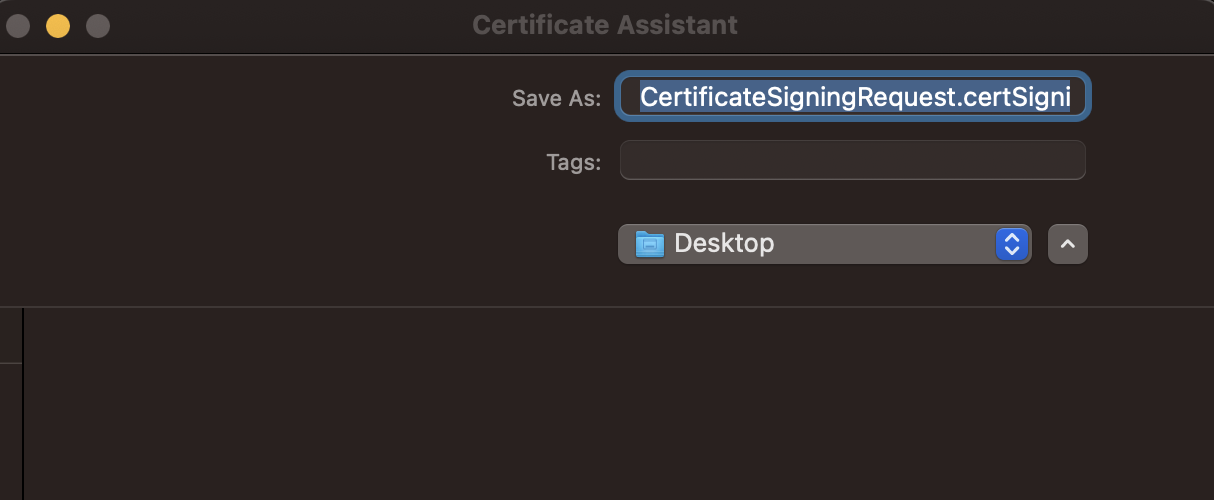
Then, you can save the certificate signing request file to your local disk, the default name is CertificateSigningRequest.certSigningRequest and the default directory is Desktop, you can change the file name and saved location as you will.
Step2: Create Push Certificate on Apple Developer Console
Login to your Apple Developer Account.
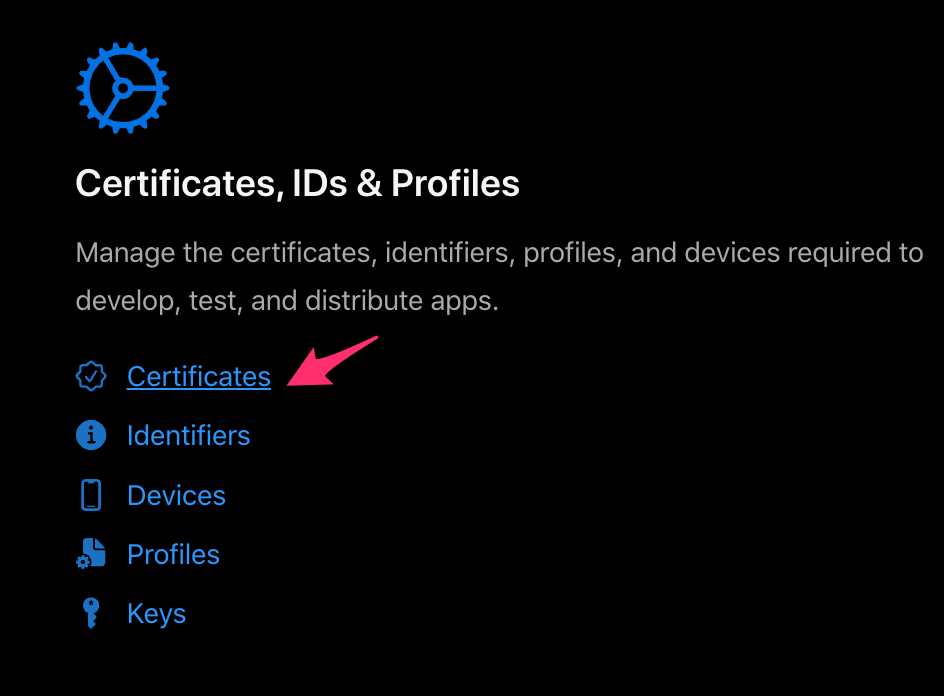
Select Certificates in the Certificates, IDs & Profile ssection.
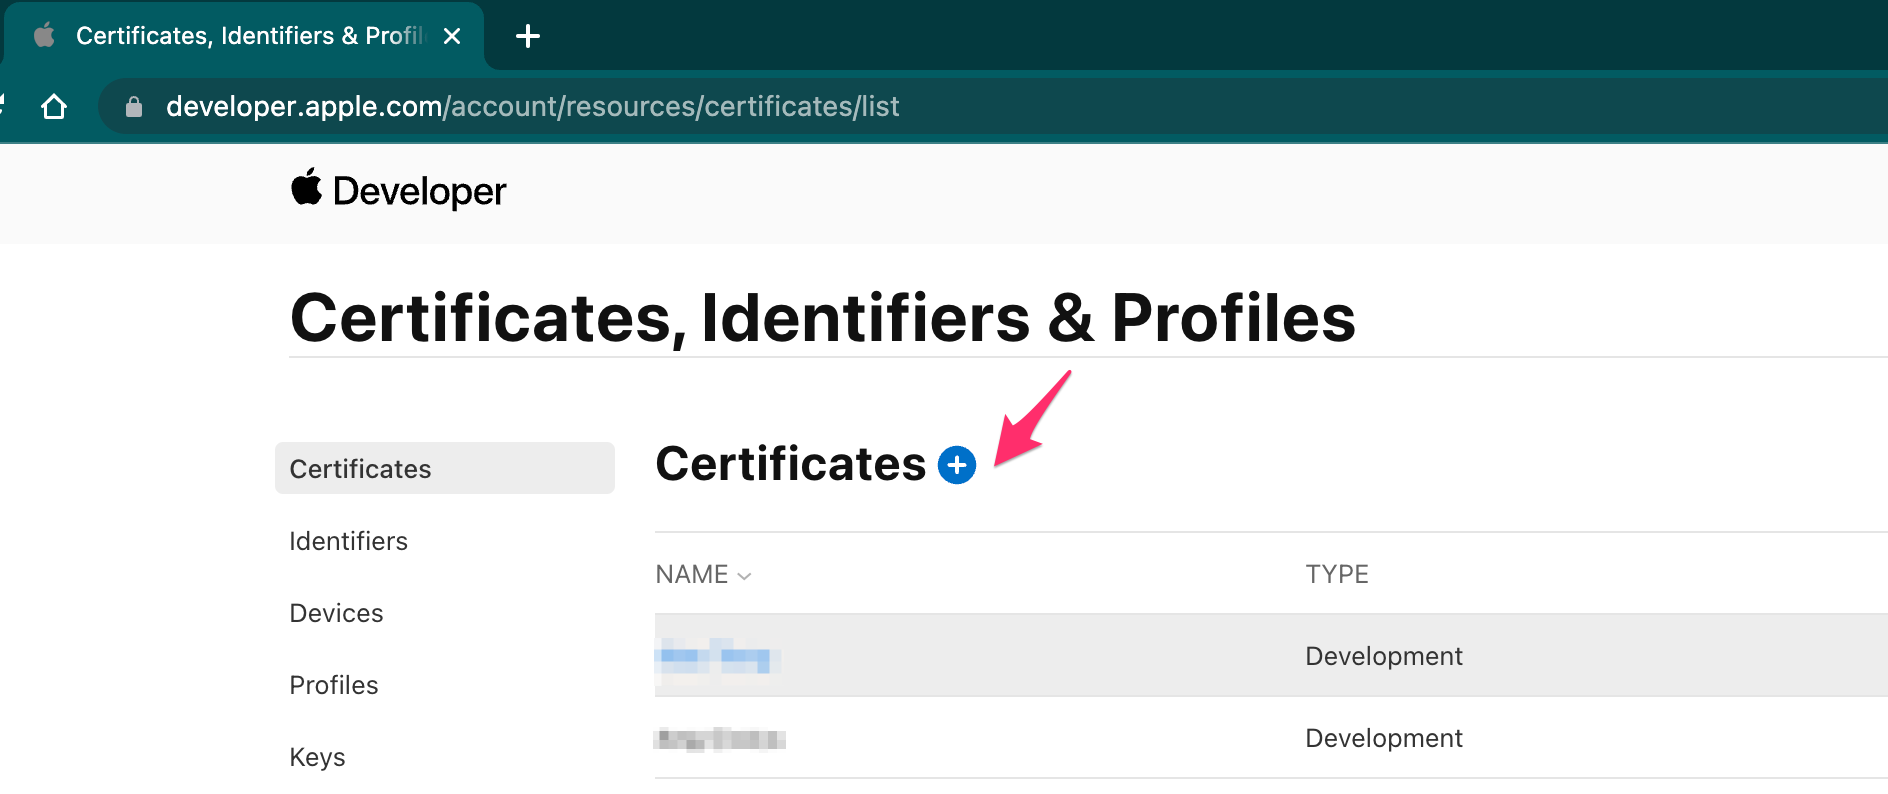
- In the Certificates, IDs & Profiles Page, make sure you select Certificates in the left bar, then click the + button.
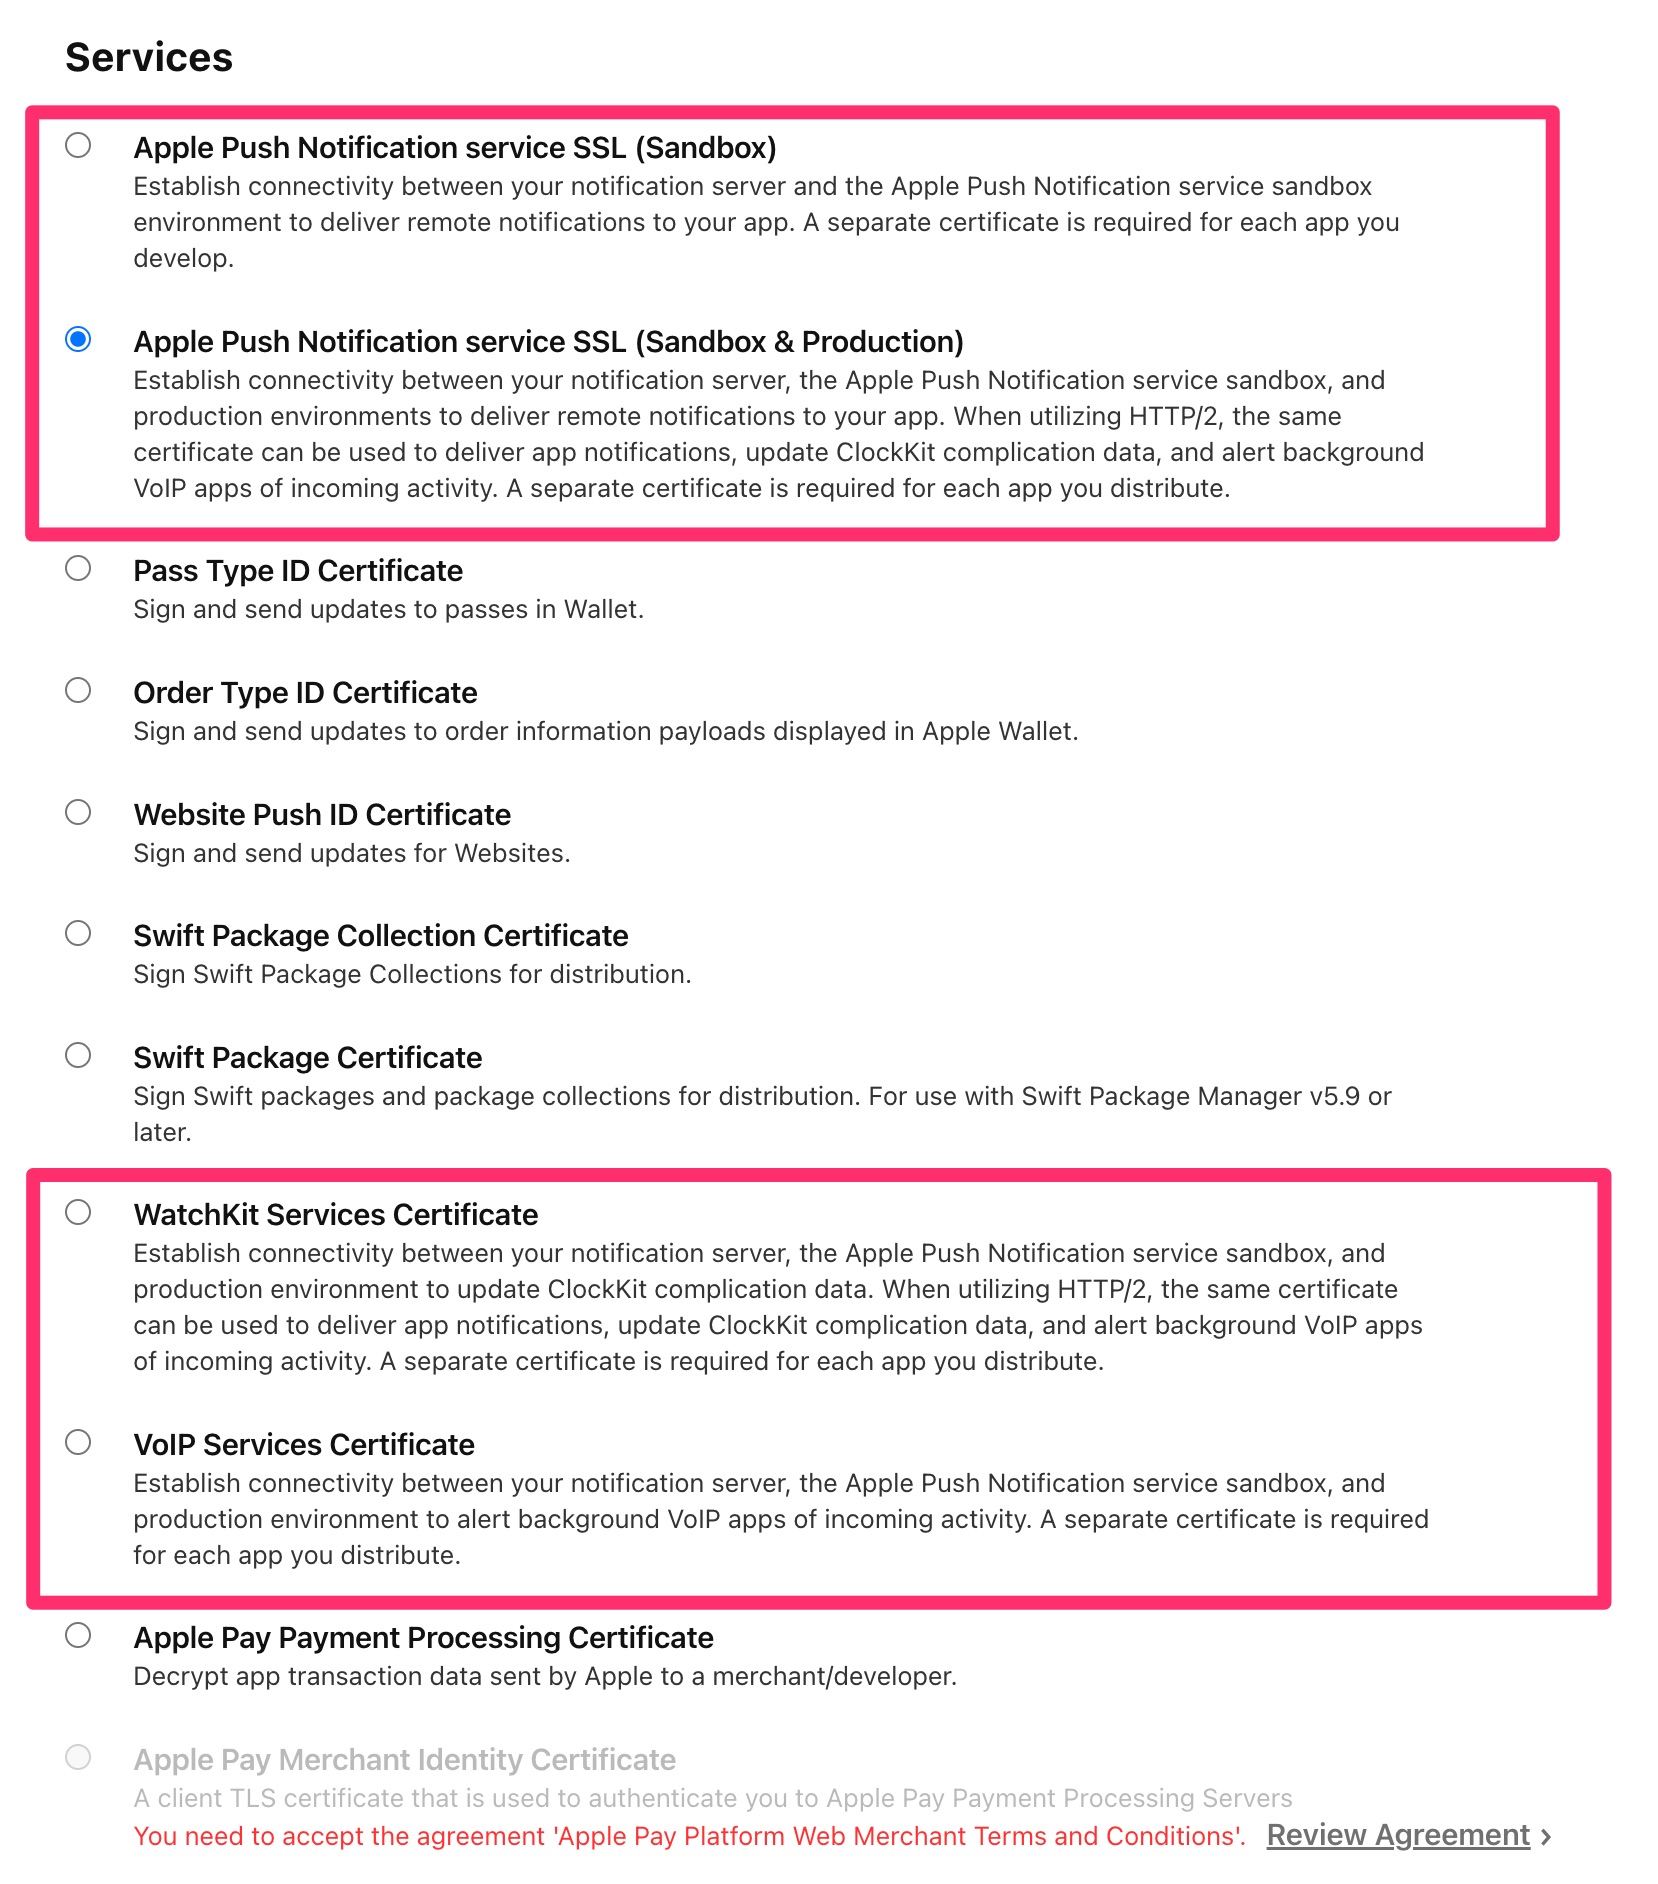
In the Create a New Certificate page, select the certificate type in the Services section.
There are four kinds of service types you can choose from:- Apple Push Notification service SSL (Sandbox)
- Apple Push Notifcaiton service SSL (Sandbox & Production)
- WatchKit Services Certifiate
- VoIP Service Certificate
Apple Push Notifcaiton service SSL (Sandbox & Production) is the most versatile certificate type, which can be used to send push notifications of
alert,background,voipand other push types. We usually choose this one.
Then click Continue.
TIP
Certificate-based authentication supports only a subset of push types and token-based authentication supports all push-types. How To Generate APNs Token Key
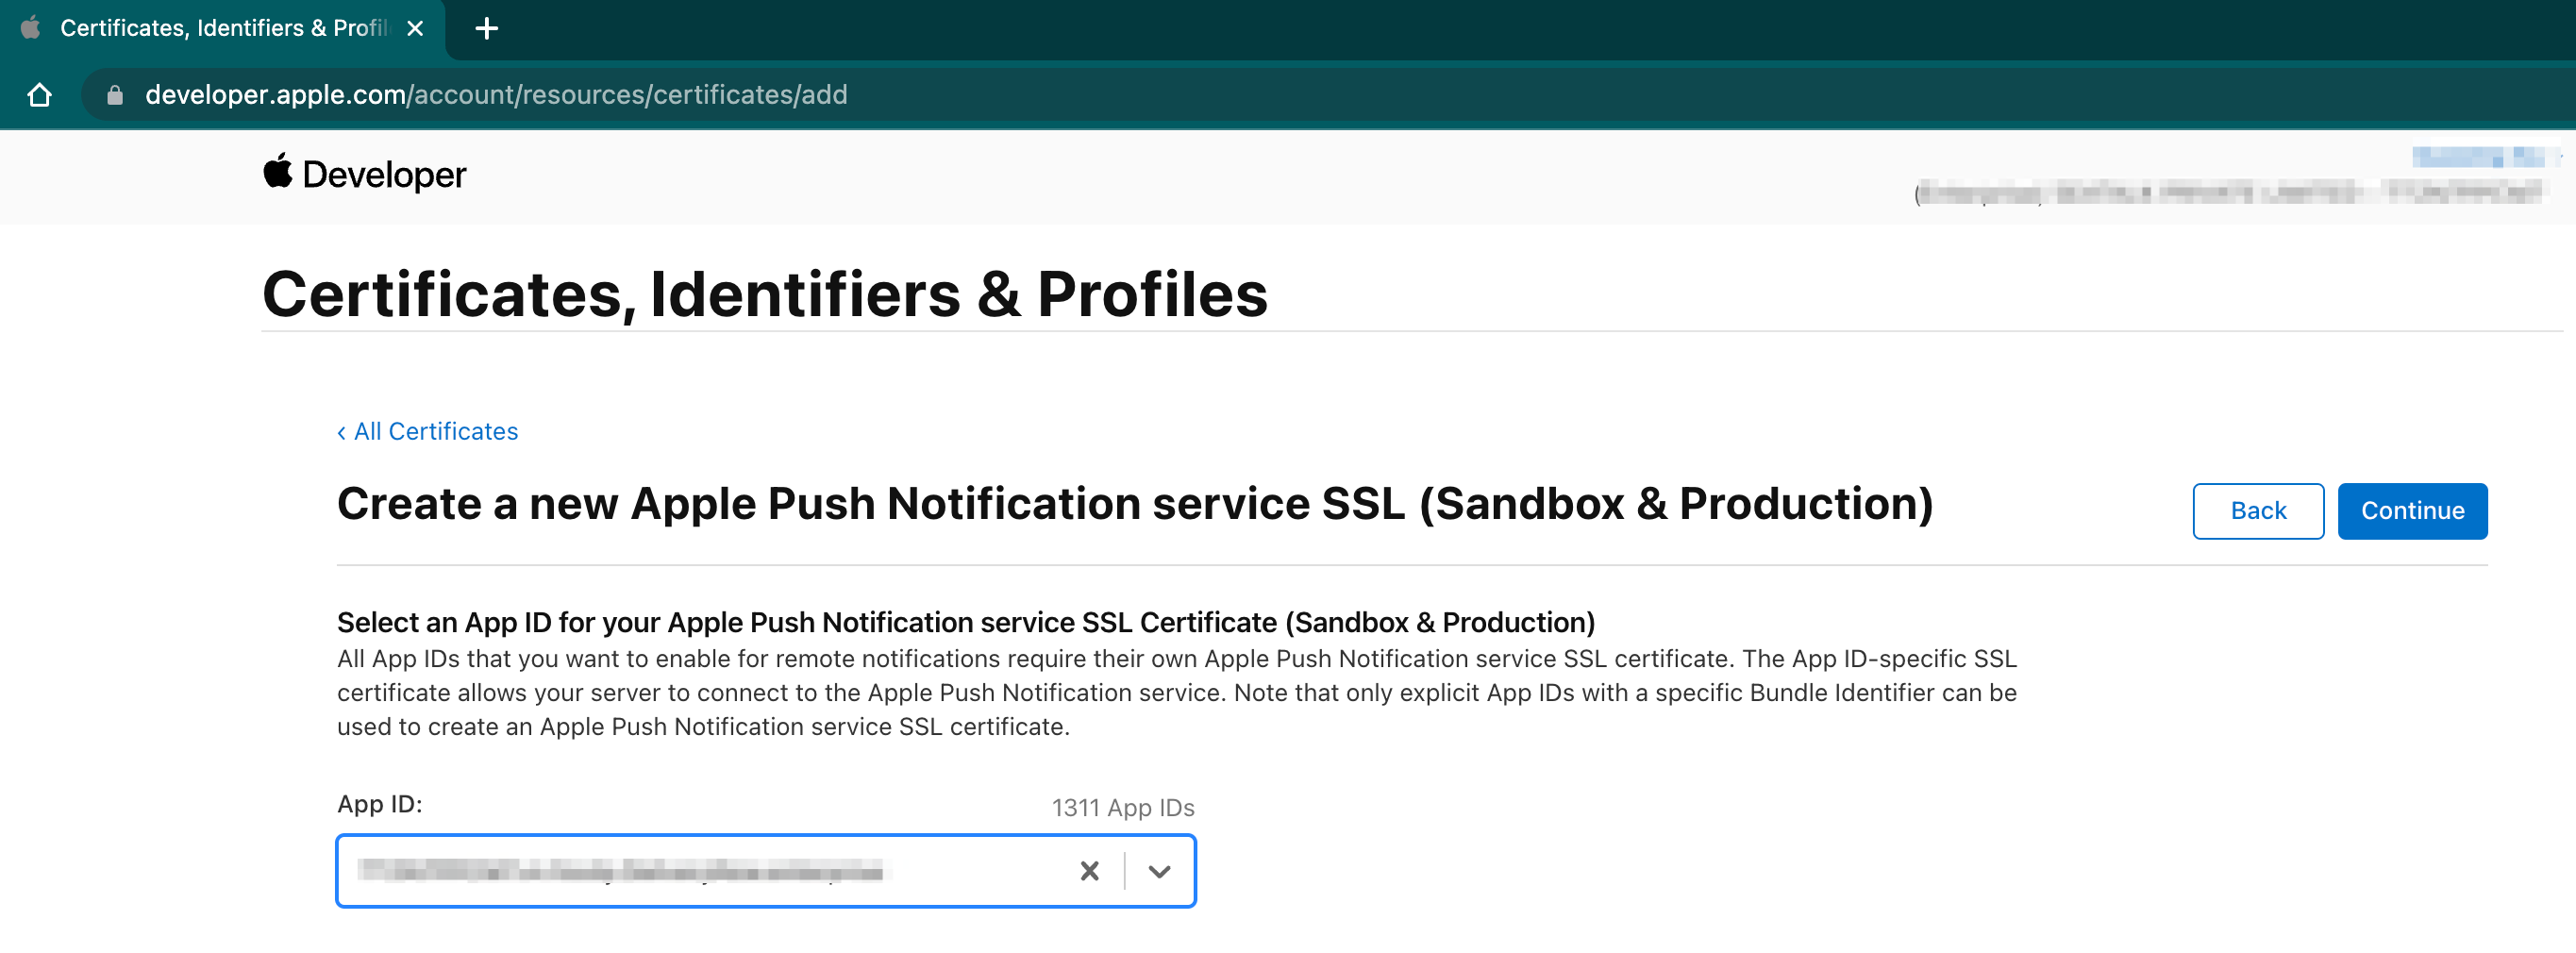
- In the next page, select the App ID you want to send push to, then click Continue.
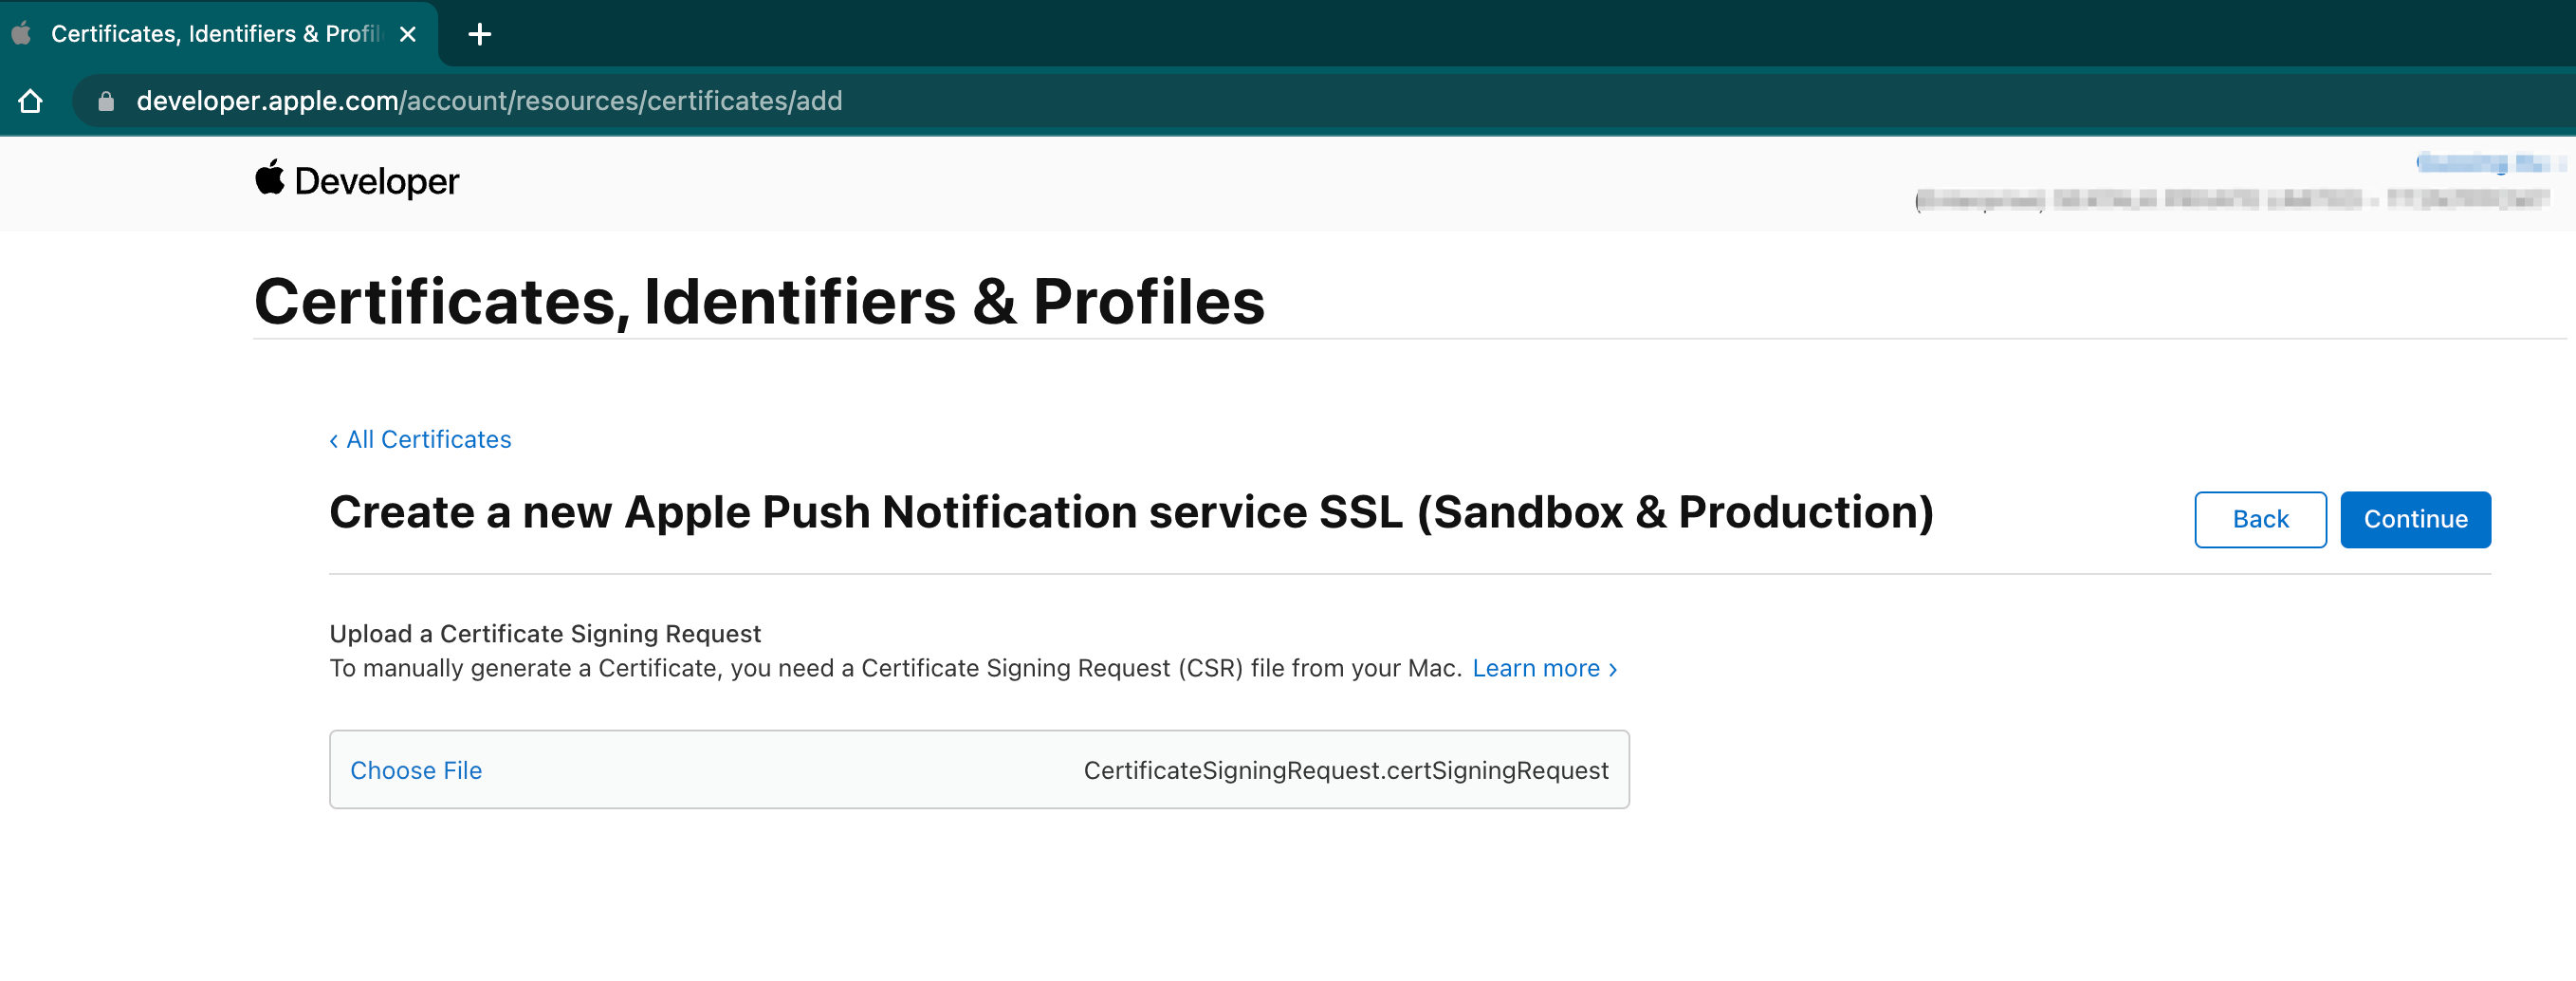
- Then, in the next page, upload the certificate signing request file created in step 1, then click Continue.
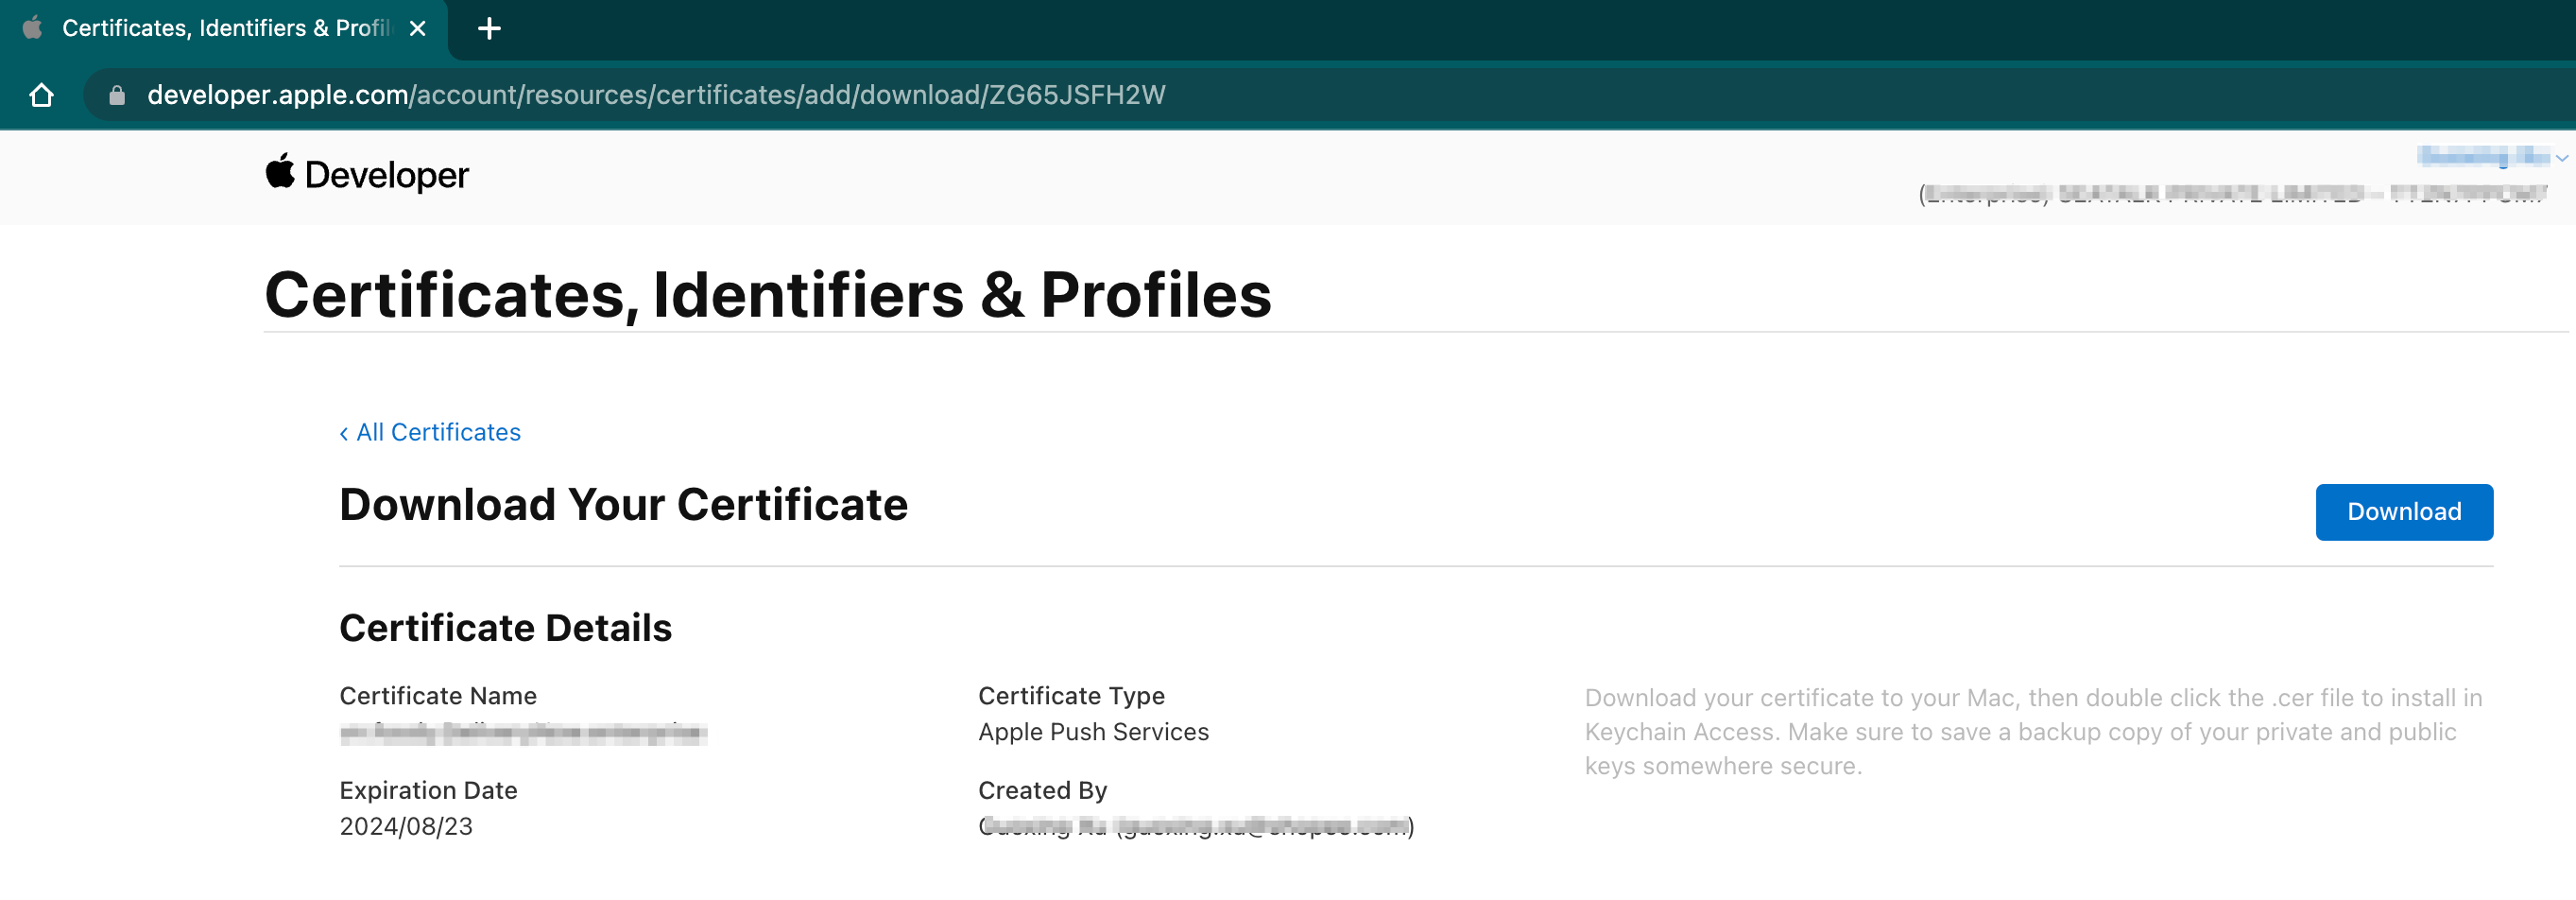
- Now, the certificate has been created, you can see the detail info of the certificate, and you can click the Download button to download it to your disk.
Depending on theServicetype you choose, the file name can be aps.cer, aps_development.cer, complicationpush.cer, or voip_services.cer.
- Double click the *.cer file, the certificate will be loaded to your Keychain Access.
As well as the .cer file name, depending on theServicetype you choose, the KeyChain item name will be:- Apple Push Services: {AppID}
- Apple Sandbox Push Services: {AppID}
- WatchKit Services: {AppID}
- VoIP Services: {AppID}

Step3: Export .p12 file from KeyChain
- Open your Keychain Access application, right click on the Apple Push Services: {AppID} item, then select Export “Apple Push Services: {AppID}”

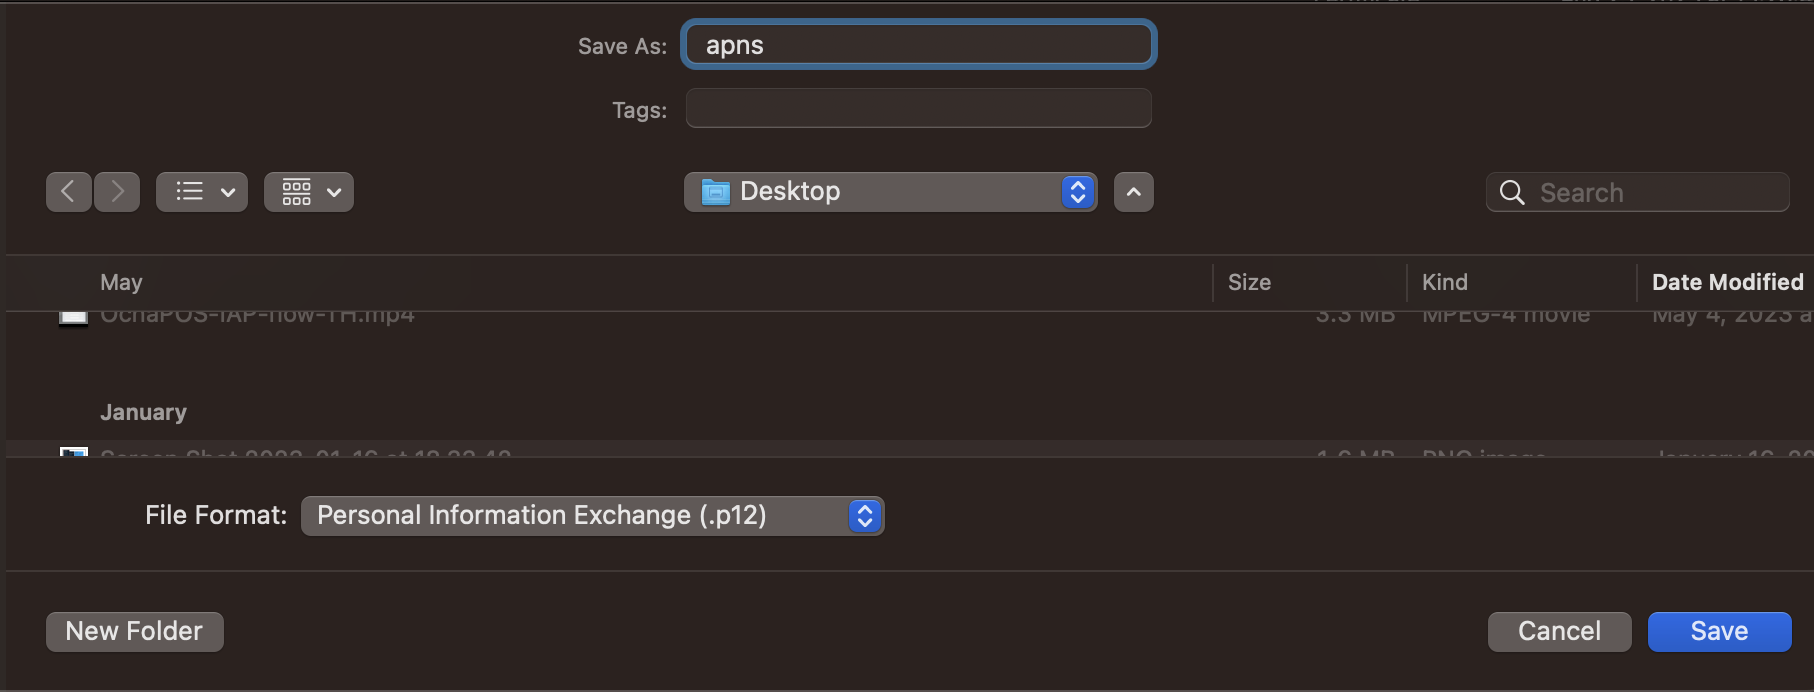
- Set the export location and filename, the File Format must be Personal Information Exchange(.p12), then click Save.
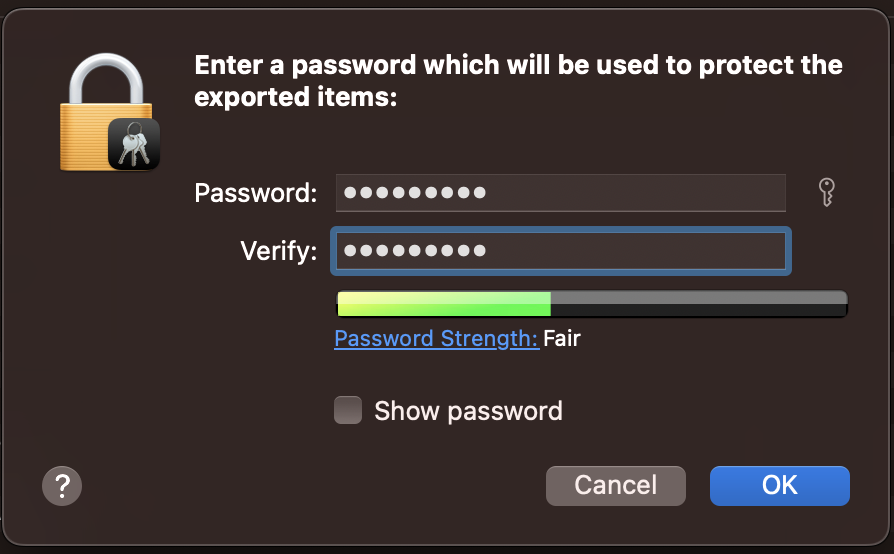
- The exported p12 file need a password to protect, so you need set a password in the password prompt page.
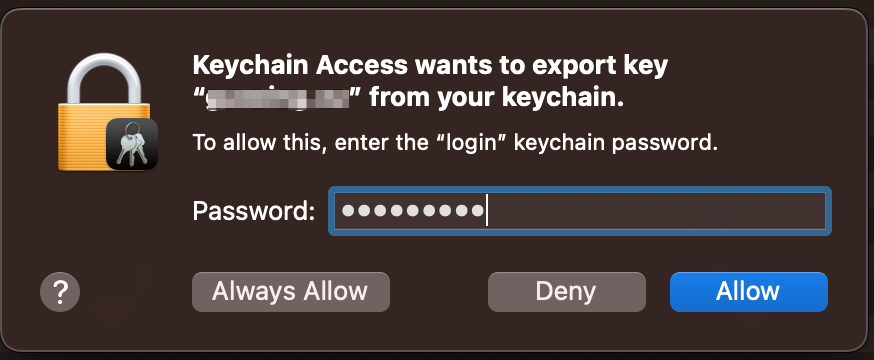
- To export keychain item from Keychain Access Application, you also need input your computer password.
- Now, the p12 format certificate has been exported, and you can use this p12 file to send iOS push notificaitons.
Step4: Generate pem file from p12 file (Optional)
If your server need a .pem format certificate to send iOS push notifications, you can convert p12 file to pem file using openssl tool.
openssl pkcs12 -in path.p12 -out newfile.pem -nodesopenssl pkcs12 -in path.p12 -out newfile.pemIf you encounter error message like this:
Error outputting keys and certificates
80422C0502000000:error:0308010C:digital envelope routines:inner_evp_generic_fetch:unsupported:crypto/evp/evp_fetch.c:341:Global default library context, Algorithm (RC2-40-CBC : 0), Properties ()
Try add -legacy parameter:
openssl pkcs12 -in path.p12 -out newfile.pem -legacy -nodesopenssl pkcs12 -in path.p12 -out newfile.pem -legacyHave any questions? Feel free to drop me a message on Twitter!